We rode one of the most popular Gran Fondos in America, Levi’s Gran Fondo, to learn firsthand what riders need to do to best prepare for the race. New for 2021, Levi’s Gran Fondo has a new location and routes ranging from an 8-mile family ride to a challenging 138-mile course.
10 Best Tips to Prepare for a Levi’s Gran Fondo
Knowing how to train for a Gran Fondo and what to do on race day will make a great day unforgettable and could even help you get that 100 mile PR, but you’ll need some help. Here are our best tips to prepare for the Gran Fondo.
1. Don’t cram your training
When you are looking at a 5-8 hour day in the saddle, aerobic fitness is certainly going to come into play. For this reason, it is crucial to give yourself enough time before the event to lay a solid foundation of base fitness by training your aerobic energy system.
You can use Plan Builder to create the perfect plan for the 2021 Levi’s Gran Fondo. Plan Builder will account for your current training volume, schedule, and time to goal event, then give you a training plan that will have you ready.
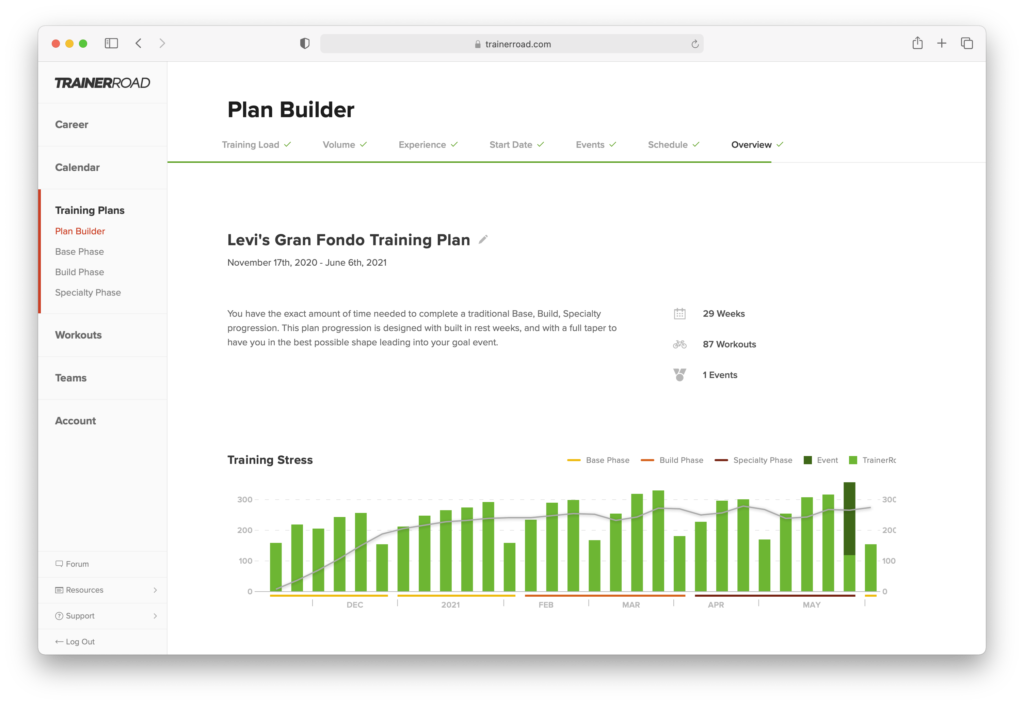
Depending on how much time you have, Plan Builder will take you through three distinct phases—Base, Build, and Speciality.
- Sweet Spot Base (12 weeks) — Develop your foundation of fitness.
- Sustained Power Build (8 weeks) — Raise your functional threshold power and ability to maintain power for long periods of time.
- Century Speciality Plan (8 weeks) — Fine-tune your fitness to match the demands of your ultra-endurance event.
Our Sweet Spot Base plan is our most common recommendation. The main goal here is to build aerobic and strength endurance to help you get through the day. And remember, just because you may be looking at a six-hour day, that doesn’t mean you need to do equally long rides in training.
After 12 weeks of Base Training, the ideal track would have you starting what we call the Build Phase. It will only require 8 weeks, but it’ll really start to ramp things up. The long climbs and near-constant fluctuations in pitch that you’ll endure will require sustained power, but you’ll also need to deal with surges, especially if you are with a quick pack of riders. Our Sustained Power Build plan is perfect for that sort of variety.
The ideal way to finish off your training is what we call your Specialty Phase of training. This third and final phase will fine-tune the fitness you’ve worked hard for so far. Although the course has plenty of fluctuations in profile, the effort you’ll be putting out will most likely be more evenly paced than a race, so our Century plan would be a great way to sharpen up for your big day in Santa Rosa.
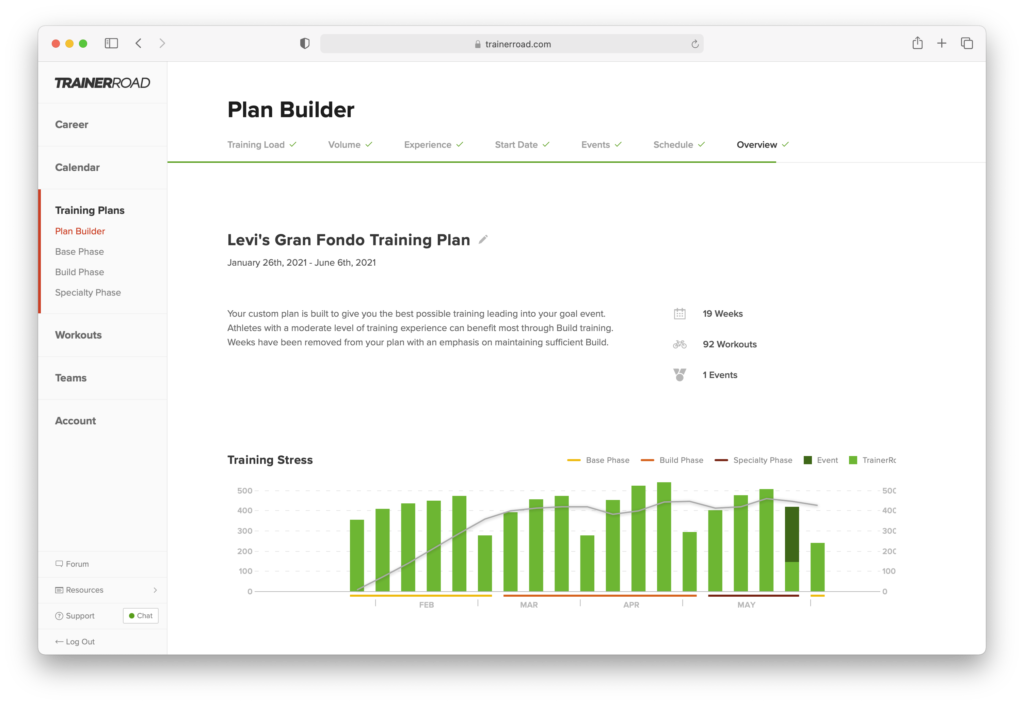
But what if you have less time than the traditional 28 weeks. No need to worry; Plan Builder has you covered. Using your experience with interval training and the time until Levi’s Gran Fondo, Plan Builder maximizes your training.
2. Do a thorough course recon
Most Gran Fondos or similar large events require you to travel to a new location or ride roads previously unknown, but that doesn’t mean you need to go into race day blind.
Levi’s Gran Fondo, for example, provides a GPS file along with their course map that can help eliminate uncertainty on race day. Make sure you download that file onto your head unit but don’t stop there. You’ll want to create a pacing plan for this long event.
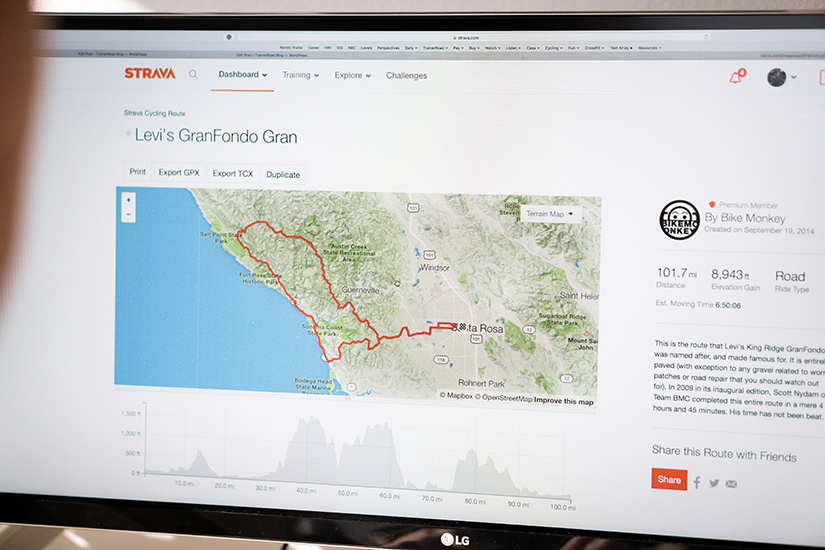
After you make a pacing plan, use Strava to get familiar with the names of the climbs and tricky descents. You can even use Google Earth to get an even better view of the roads. The key terms at Levi’s were Graton Hill, King Ridge, and Skaggs Road (more on those later in this post).
With that information, you’ll be able to get a feel of what to expect mile by mile. This will allow you to split up the day into more manageable pieces, avoid going too hard at the wrong time, and just approach the day with more calm.
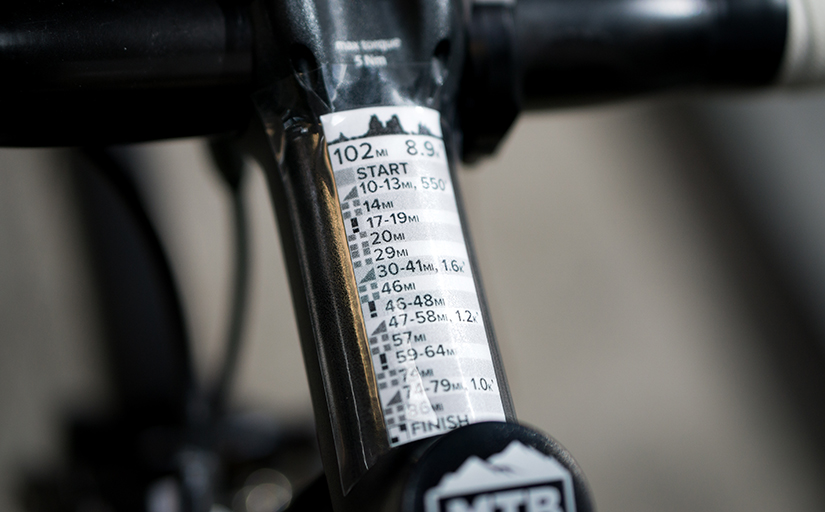
If you really want to go the extra mile, put all of this info onto a small cheat sheet that you can tape to your stem or top tube.
3. Bring fat tires
This is a road ride with some gravel options, so you may be asking, what tires should I bring to my Gran Fondo? For Levi’s, even if you don’t ride any gravel, high-volume tires are a good idea. The old roads of Sonoma County are notoriously rough due to plenty of moisture and the unstable ground that lies beneath. The potholes and cracks can be relentless at times, and you’ll see plenty of people fixing pinch flats on the side of the road.
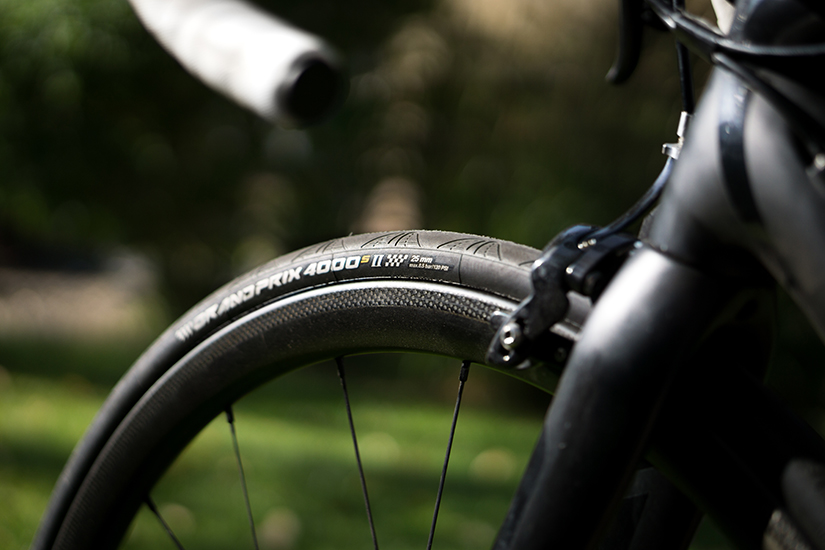
Even if puncture protection isn’t your focus, high-volume tires should still be on your bike for comfort. 100 miles of small yet constant jarring from rough roads will add up to significant fatigue by day’s end.
Finally, remember that in many cases, wider tires inflated to a lower pressure can actually improve rolling resistance over some setups – another small detail that can add up over the course of 100 miles.
4. Pick up your race packet beforehand
Levi’s Gran Fondo is very well organized, but dealing with upwards of 3,000 participants is still no easy task. Head into town the night before and make sure you pick up your packet beforehand instead of the morning of. In your packet, you’ll find a whole stash of goodies, but the most important one is your number. Just remember that you have to pick up your packet in person with a photo ID.
The numbers have RFID chips on them for automated timing, so timing won’t be reliant upon somebody reading your number at checkpoints. As such, you can mount your front number behind cables or slightly angled to avoid as much aerodynamic drag as possible. Doing all of this on the eve of the ride will help you roll to the line stress-free and avoid a long line of riders at registration in the morning.
5. Don’t eat a big breakfast
Breakfast, the morning of a big day like this, tends to be rather large to hedge your bets against running out of fuel mid-ride. In the case of Levi’s Gran Fondo, this isn’t necessary. The aid stations are so frequent and so well stocked that a normal breakfast is plenty sufficient. Just remember to focus on carbohydrates for maximum performance.
In terms of what food you’ll need to carry, just bring enough to get you out of a pinch between aid stations. No need to fill every pocket with heavy food you won’t need.
6. Don’t be late to the start
For massively attended rides like Levi’s Gran Fondo, your start position is key. The event organizers allow event sponsors and VIPs to the front, followed by an optional slot for riders who have previously ridden the event in less than 7.5 hours, followed by self-seeded experts, self-seeded intermediates, and self-seeded beginners.
It’s important to find the spot that aligns with your skill level to ensure a safe day, but it can also help your efficiency. Rolling with packs of riders that align with your ability levels will help you save energy, and getting toward the front will help you avoid the crowds at aid stations.
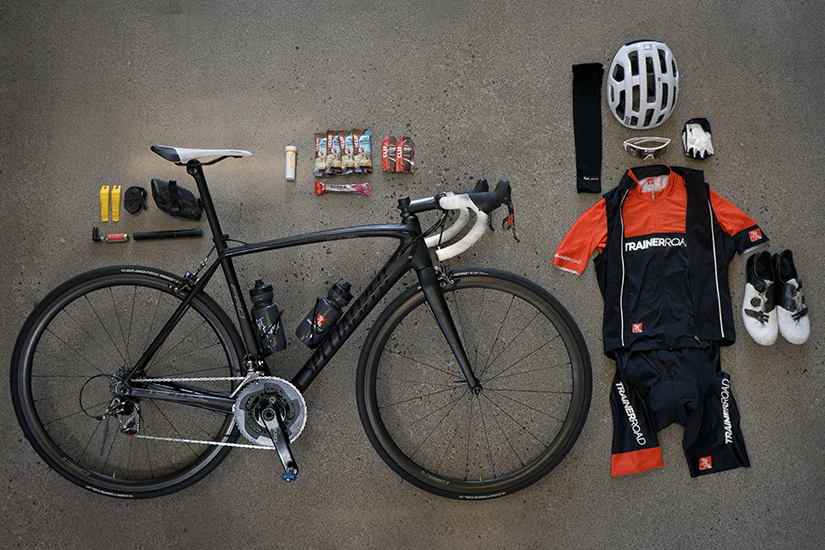
7. Don’t bring a jacket
Sonoma County regularly harbors a thick layer of cold fog in the mornings. You may think you need a jacket when you start, but as soon as you get into the coastal hills, that fog is likely to disappear, leaving you with high temperatures.
Much better than a jacket is a combo of a light vest and arm warmers that you can more easily remove and stash in your packets. If you want the best arm warmers for damp conditions, look for merino wool. It’ll stop you from getting cold, clammy arms from the fog, or from sweating up the climbs.
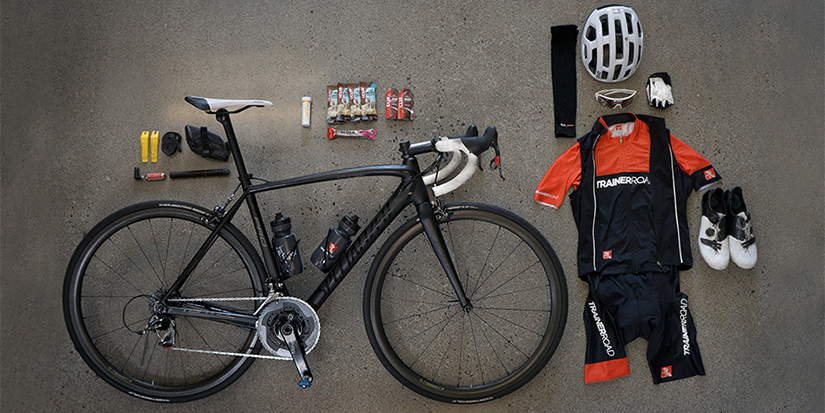
8. Bring spares
There are plenty of aid stations on this ride and plenty of riders, but you can’t count on them to bail you out of a mechanical problem. The rough roads will take their toll on equipment, so a multi-tool, tube, tire lever, and CO2 are necessities, but a patch kit, handpump, and extra tube are not bad ideas.
9. Use the right aid stations
Every aid station at Levi’s Gran Fondo is fully stocked for nutritional, mechanical and medical needs, and some of them even have caterers providing custom-ordered meals. It’s fantastic! But don’t forget your goals for the day.
Stopping at an aid station is a loss of physical and psychological momentum. While a reset can be nice if your goal is to simply enjoy the day at an easy pace, stopping at the base of a climb or when you finally found a good group to ride with can be demotivating. Make sure you know where the aid stations are beforehand and plan accordingly.
10. Don’t charge the climbs
One of the biggest mistakes we see people make is letting the pack or terrain dictate their pace in a negative way. Even with Gran Fondos, it is easy to get caught up in the excitement and push too hard too early, leaving yourself exhausted toward the end of the ride.
Keep a conservative pace in the beginning, remembering there are no trophies given to those that can hammer the climbs or take the longest pulls. With so many riders, you’ll have plenty of opportunities to sit in a draft and save energy, so make sure you are taking advantage of that as regularly as possible.
For Levi’s Gran Fondo in particular, resist the urge to hammer up the early parts of King Ridge. King Ridge rolls and pitches for a very long time. If you are in too deep, those steep pitches on King Ridge will really start to hurt, and you won’t have even reached the halfway point.
Skaggs Road is the last big climb of Levi’s Gran Fondo, and while it is steep, the biggest surprise you’ll face is that once you have finished the climb, you’ll descend about miles before facing another 5-mile climb. Thereafter, the road rolls down the valley. This is where a set of fresh legs and a group of riders will help save some time and turn a long final march into an enjoyable cruise.
More Tips for Levi’s Gran Fondo:
For more cycling training knowledge, listen to Ask a Cycling Coach — the only podcast dedicated to making you a faster cyclist. New episodes are released weekly.